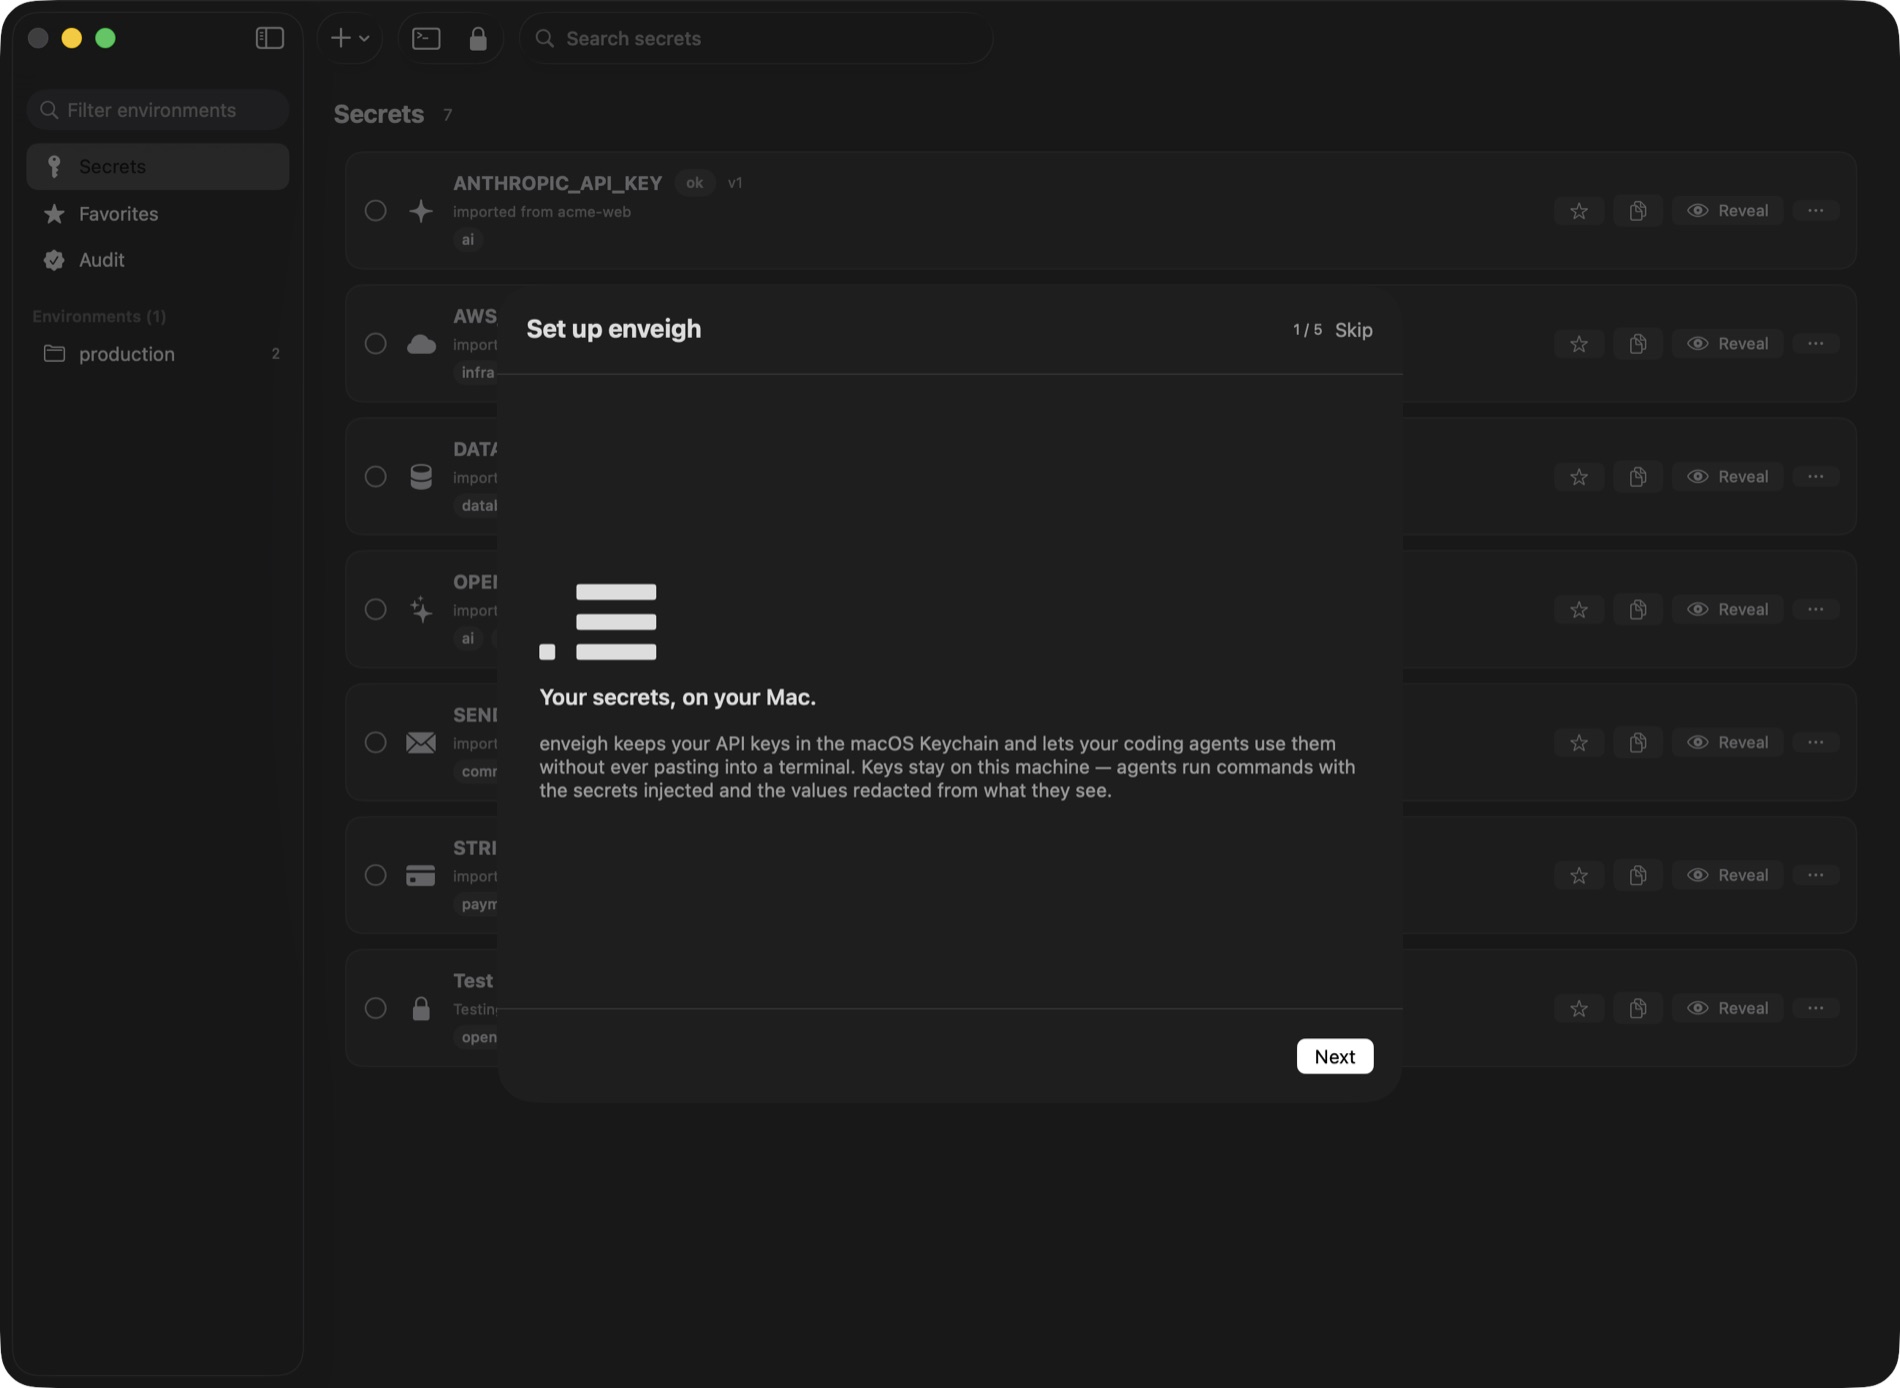
Quickstart
From download to your first agent run in about five minutes.
1. Install
Download enveigh for macOS (macOS 26+, Apple Silicon & Intel — signed and notarized), open the dmg, and drag enveigh to Applications.
On first launch the app walks you through setup — the same steps as below.
Watch the whole flow — 42 seconds
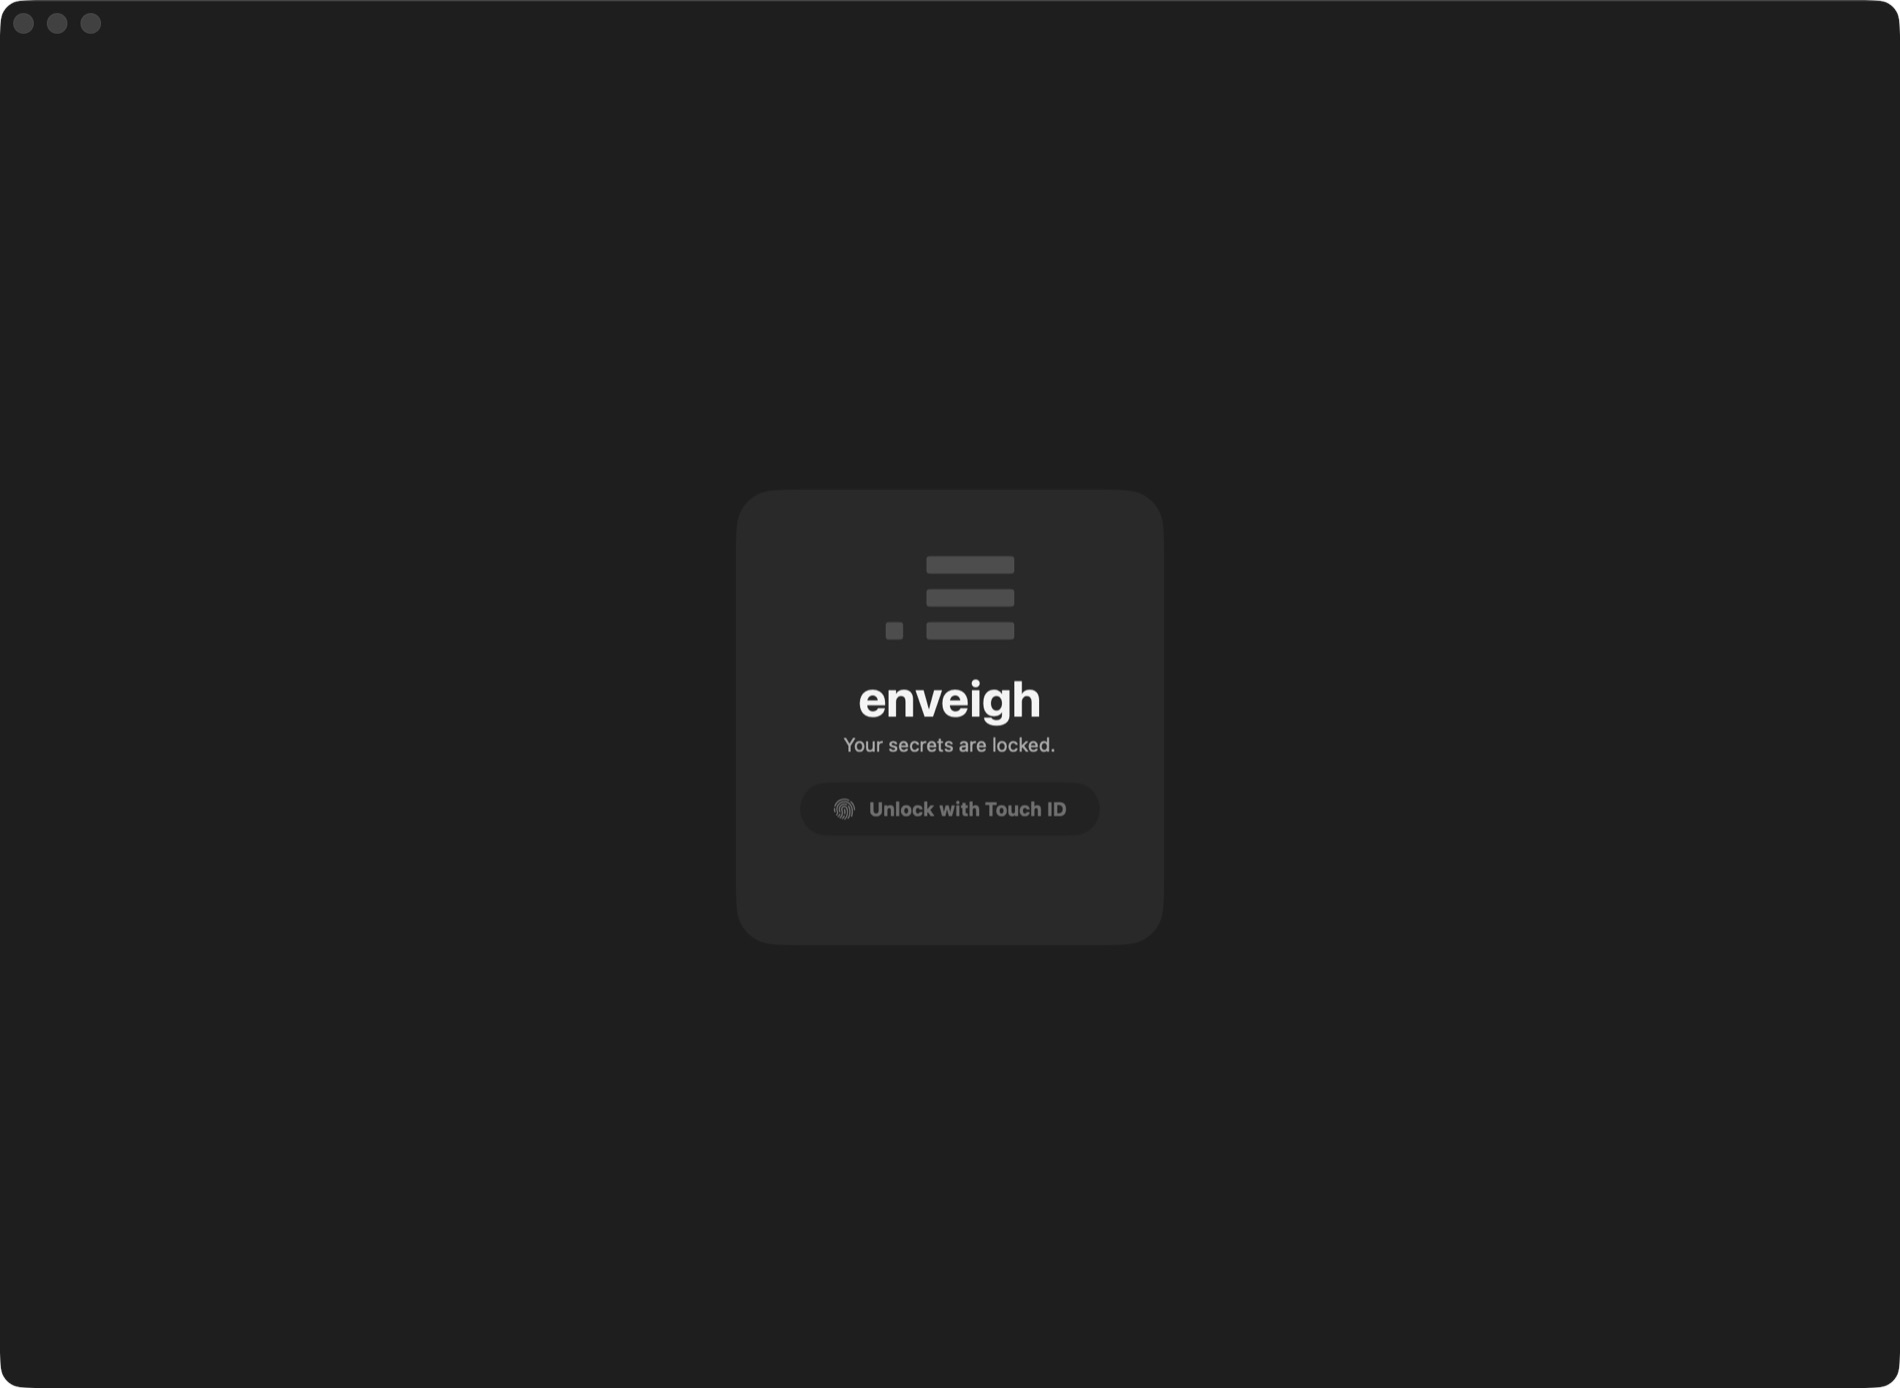
2. Unlock
The vault is locked by default — unlock with Touch ID (or your password). Everything downstream (CLI, agents) only works while the app is running and unlocked.
3. Import your keys
Point the importer at a projects folder. It finds every .env under it, keeps the
credential-shaped keys (STRIPE_SECRET_KEY, DATABASE_URL, …) and skips plain config
(PORT, NODE_ENV). Each .env becomes an environment; identical values dedupe to one
shared secret.
When the import lands, enveigh offers to move the original .env files to the Trash —
the values are in the vault now, so the plaintext copies are just risk lying around.
Also worth scanning: Scan for leaks (in the sidebar) finds keys hardcoded outside
.env files — in source, configs, CI workflows, even your git history — and vaults them in
one pass.
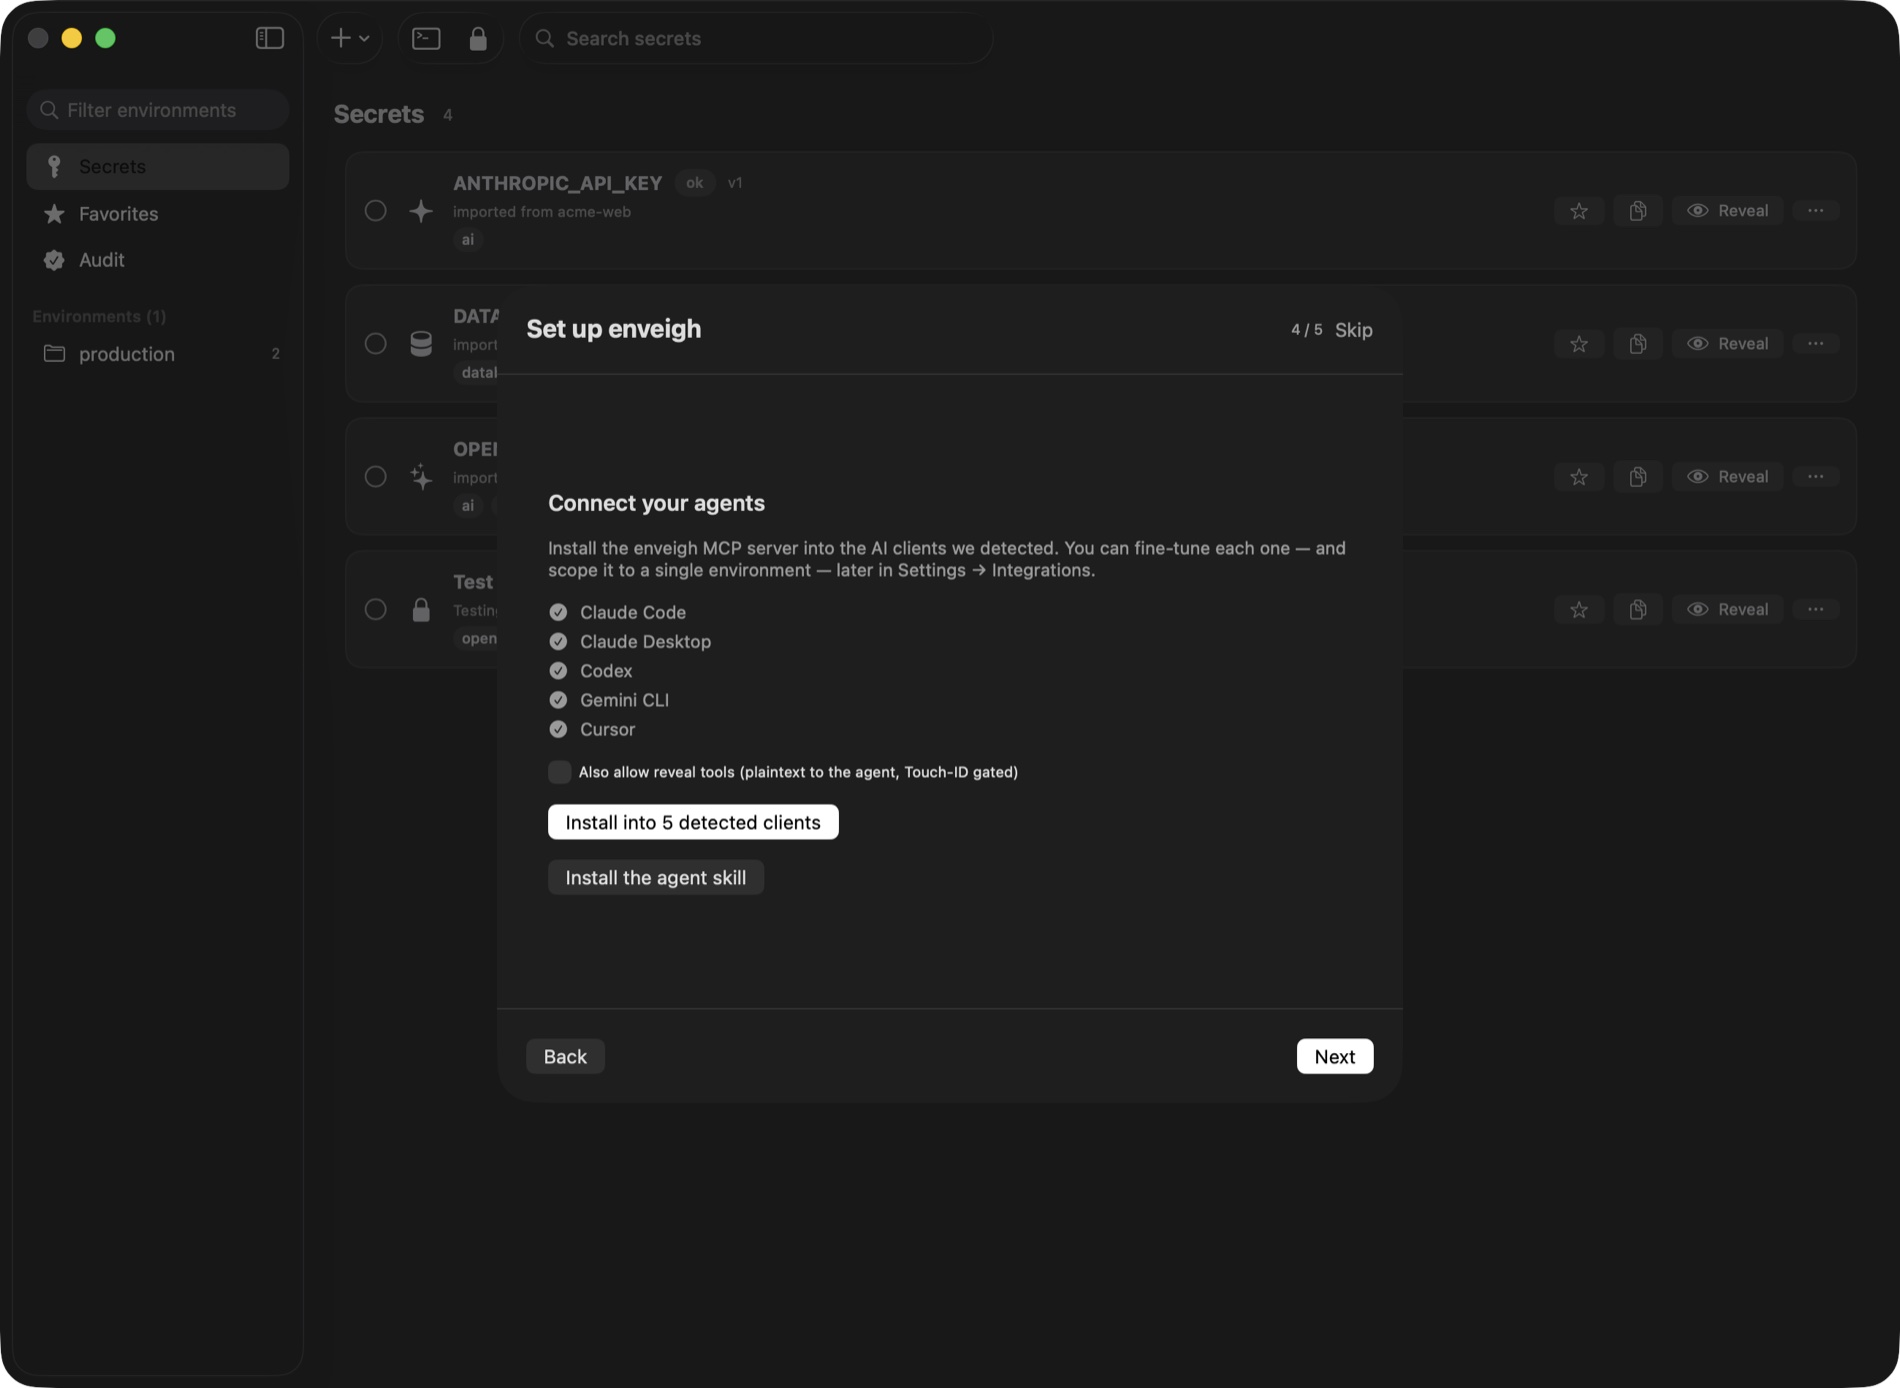
4. Connect your agents
One tap installs the MCP server into every detected client (Claude Code, Claude Desktop, Cursor, Codex, Windsurf, Gemini CLI, …). Each client gets its own revocable token, which you can scope to a single environment in Settings → Integrations.
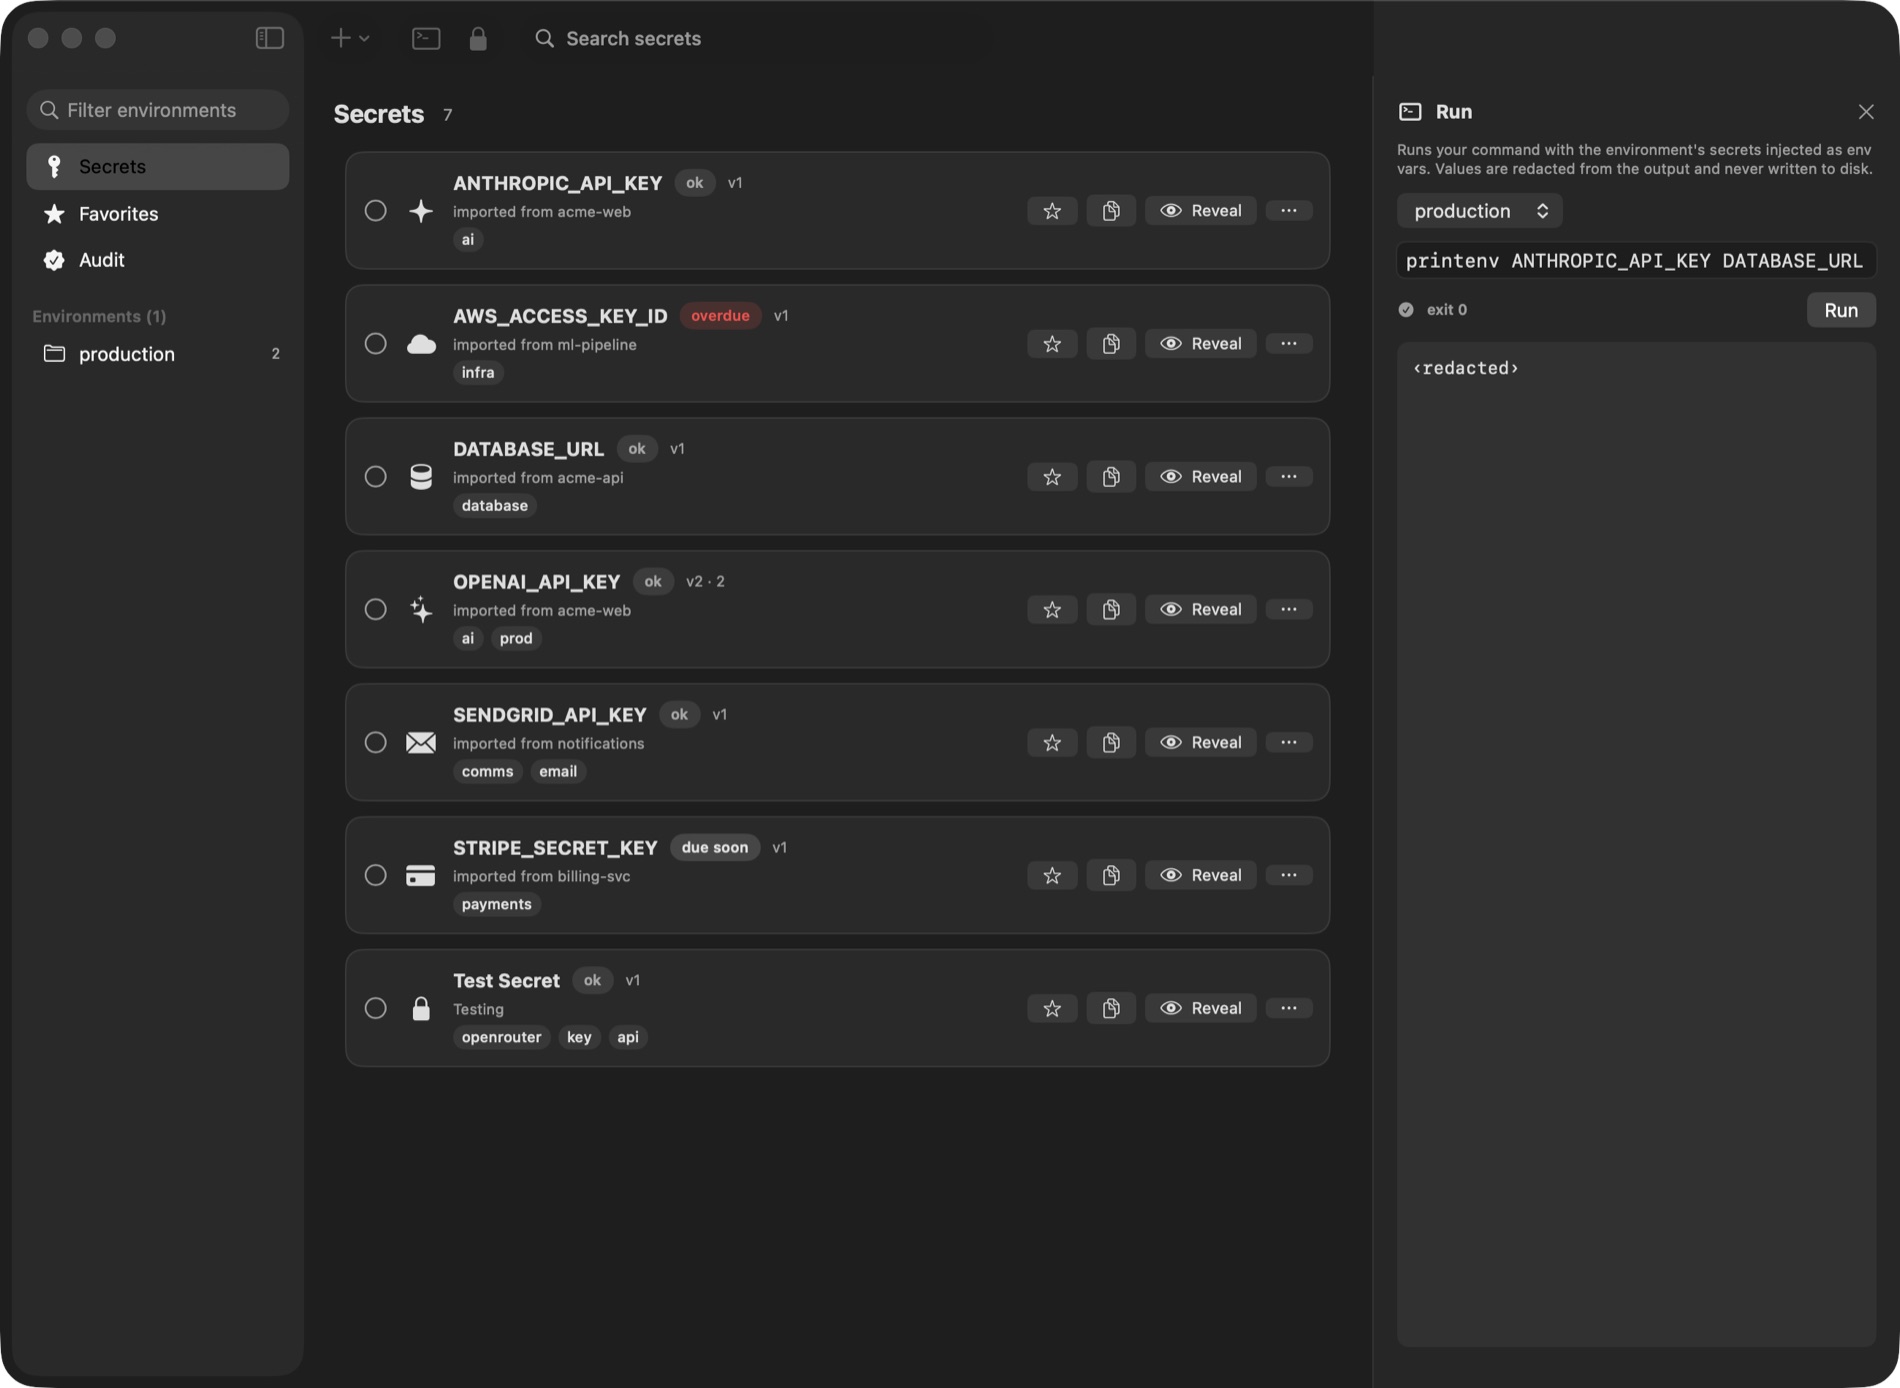
5. Run something
Ask your agent to run a task that needs secrets, or do it yourself from the terminal:
enveigh run --env production -- npm run deployThe command runs with the environment's secrets injected as env vars. When an agent does the same through MCP, the output it reads back has every value redacted.
That's the loop. Next: the CLI reference or the MCP server in depth.